
How to Draw a Mountain: Mountain Drawing Tutorial
Mountains become clearer when you stack ridges with overlapping slopes. This mountain drawing lesson starts with a horizon, raises primary peaks, then adds receding ranges with lighter pressure. Beginners can finish a strong landscape without geology jargon. Expect a range that reads as near, mid, and far. Soften distant ridges and save your darkest accents for the nearest cliffs.
- Difficulty
- beginner
- Time
- 25-35 minutes
- Steps
- 7
- Medium
- HB pencil
- Worksheet
- Free printable PDF
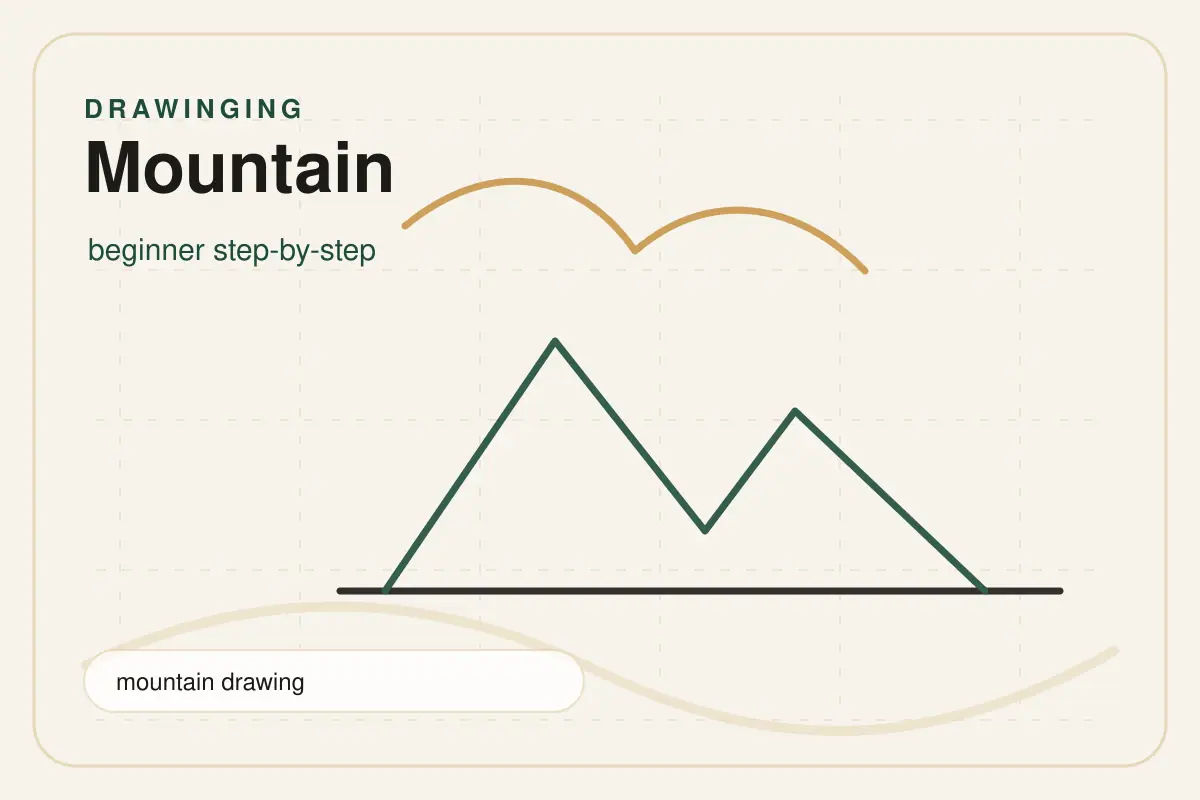
Materials needed
- HB pencil
- 2B pencil
- eraser
- sharpener
- drawing paper
- ruler or scrap paper for measuring
Before you start
Set the page so there is room for the full jagged ridge with a broad lower slope. Use an HB pencil for the first pass, keep the pressure pale, and mark the largest direction lines before drawing rock planes and snow cap edges. A small scrap sheet is useful for testing curves and shadows.
Step-by-step tutorial
Step 1: Place the main construction shapes
Sketch the first structure with pale lines: main peak, uneven ridge, angled slopes, and foreground base. Keep the marks loose and look at the whole page rather than one detail. This is the only place where the full mountain drawing phrase needs attention; after that, the drawing can grow from landmarks. Leave enough margin around the jagged ridge with a broad lower slope so later refinements do not feel cramped.
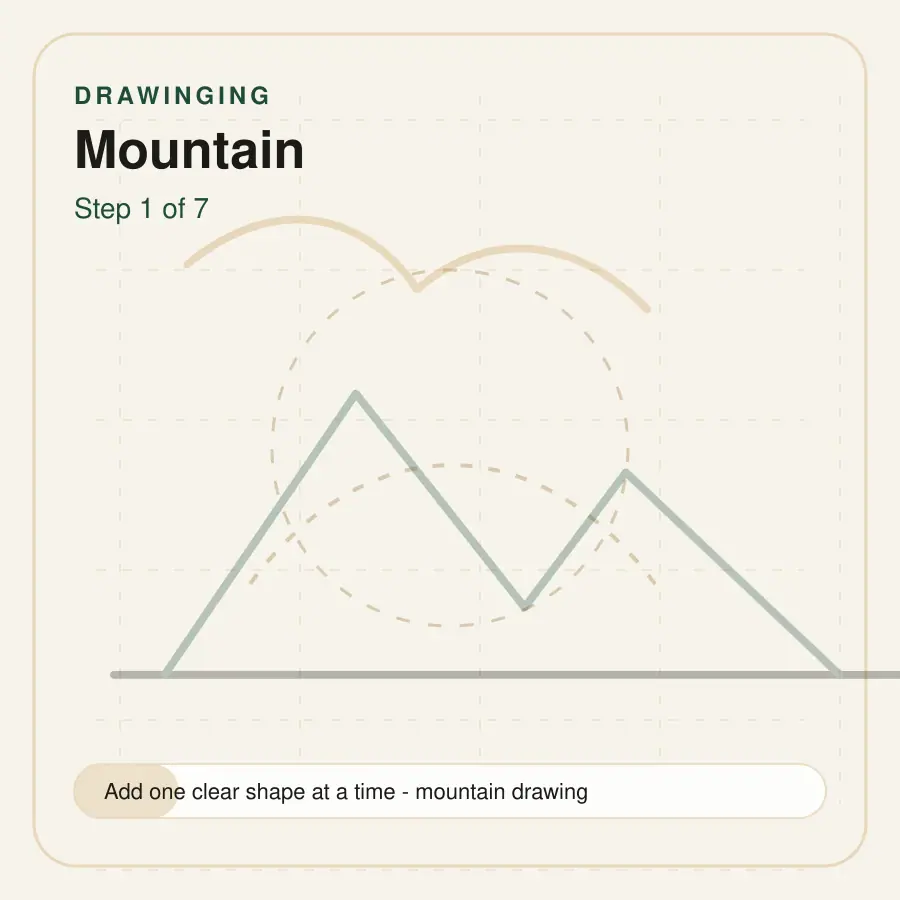
Tip: Use the side of the pencil for soft construction lines.
Step 2: Block in the ridge line
Add the ridge line using simple curves that follow the first shape. Compare their size to the main body before adding detail. If the spacing feels uneven, redraw the guide rather than forcing the final outline. Lightly mark where the peak will sit so the parts relate to each other and the silhouette stays readable.
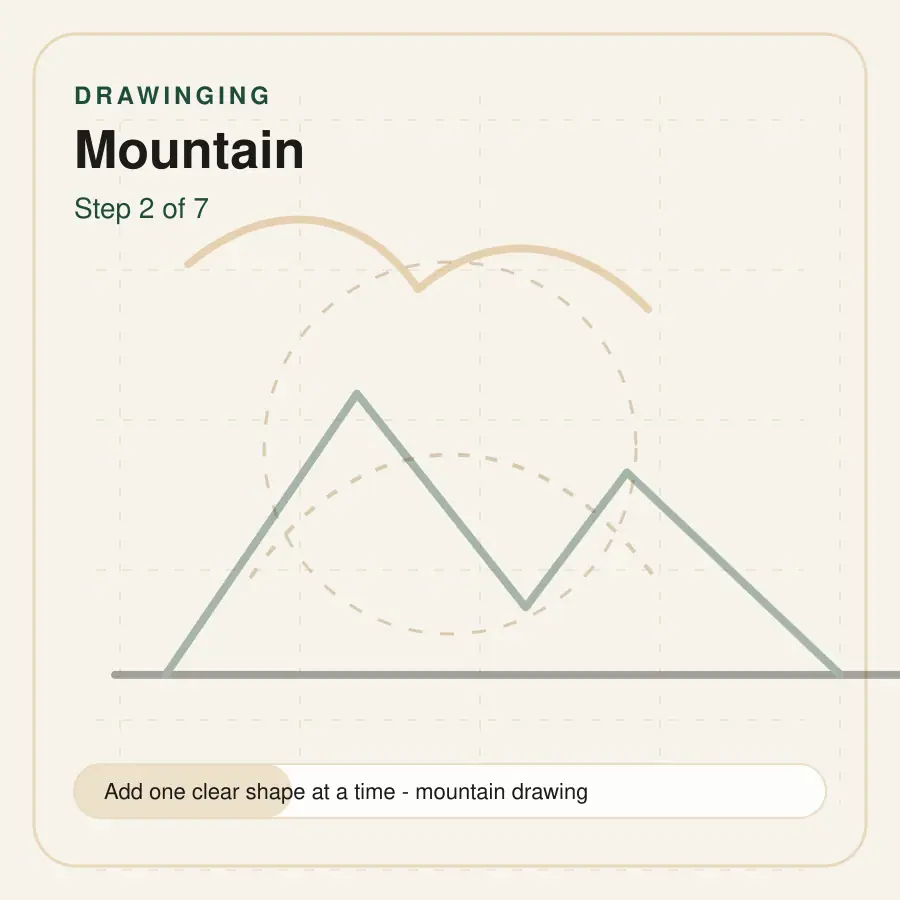
Tip: Check the largest spacing before erasing any guide lines.
Step 3: Set the peak and slope
Place the peak next, then attach the slope with a clean overlap. Watch for tangents where two edges only touch; a small overlap usually looks more natural. Keep the new lines lighter than the main contour. The goal is to show how the features connect to the form, not to finish every small texture mark yet.
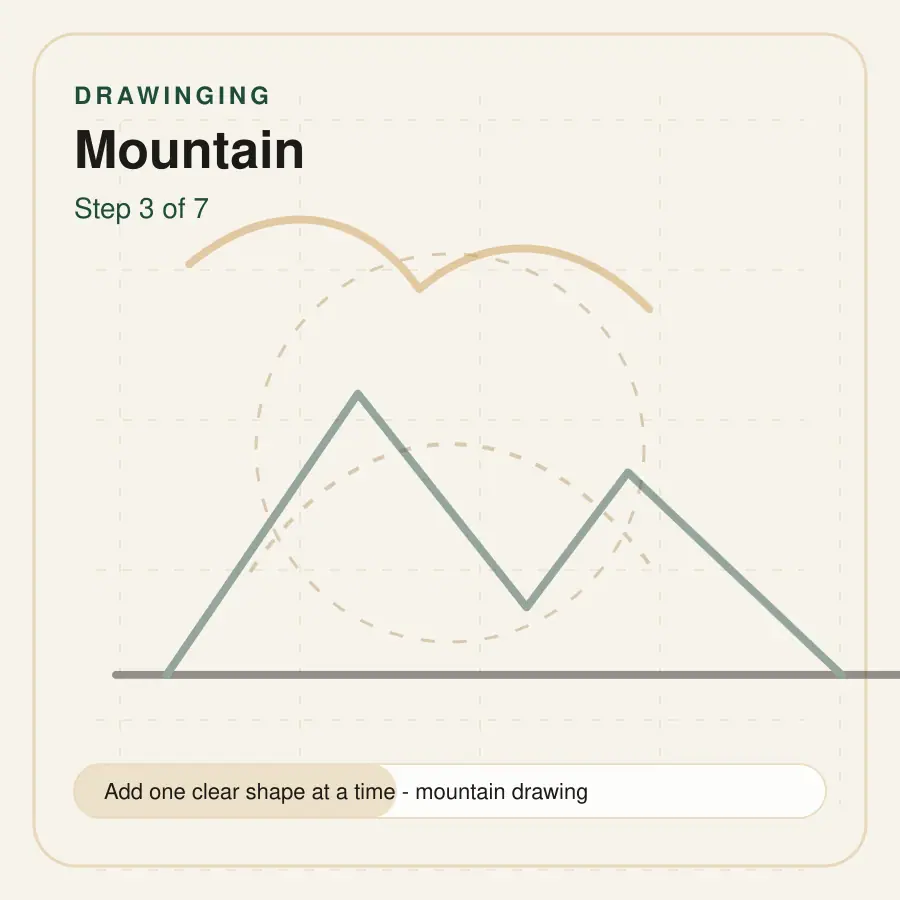
Tip: Overlap forms clearly so each part feels attached.
Step 4: Refine the outside contour
Trace around the outer edge slowly and turn the basic shapes into a more specific contour. Use longer strokes on calm areas and shorter strokes where the form changes direction. Adjust the jagged ridge with a broad lower slope before adding texture. If one side feels too heavy, compare the empty space around it and shave the line back with light erasing.
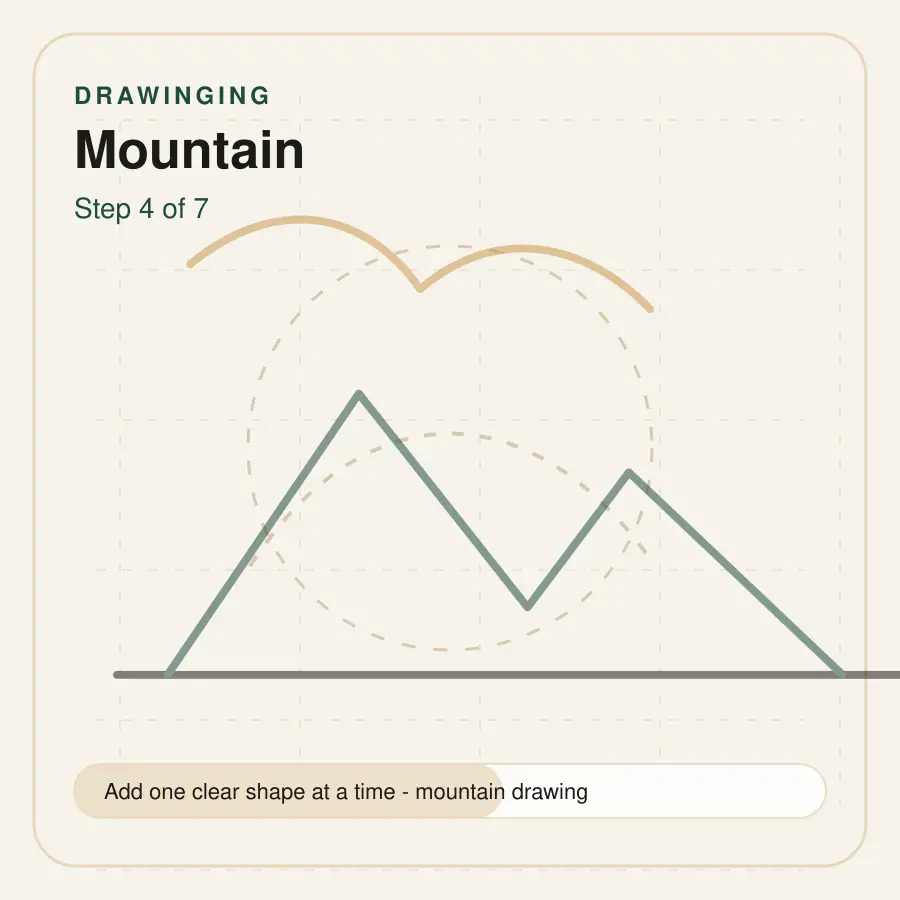
Tip: Darken only the contour you are sure about.
Step 5: Add subject details
Work on rock planes and snow cap edges with small marks that follow the surface. Keep the details grouped instead of spreading identical marks everywhere. Add a few accents near the focal area, then leave quieter spaces so the drawing can breathe. The snow cap and tree line should support the structure rather than distract from the main shape.
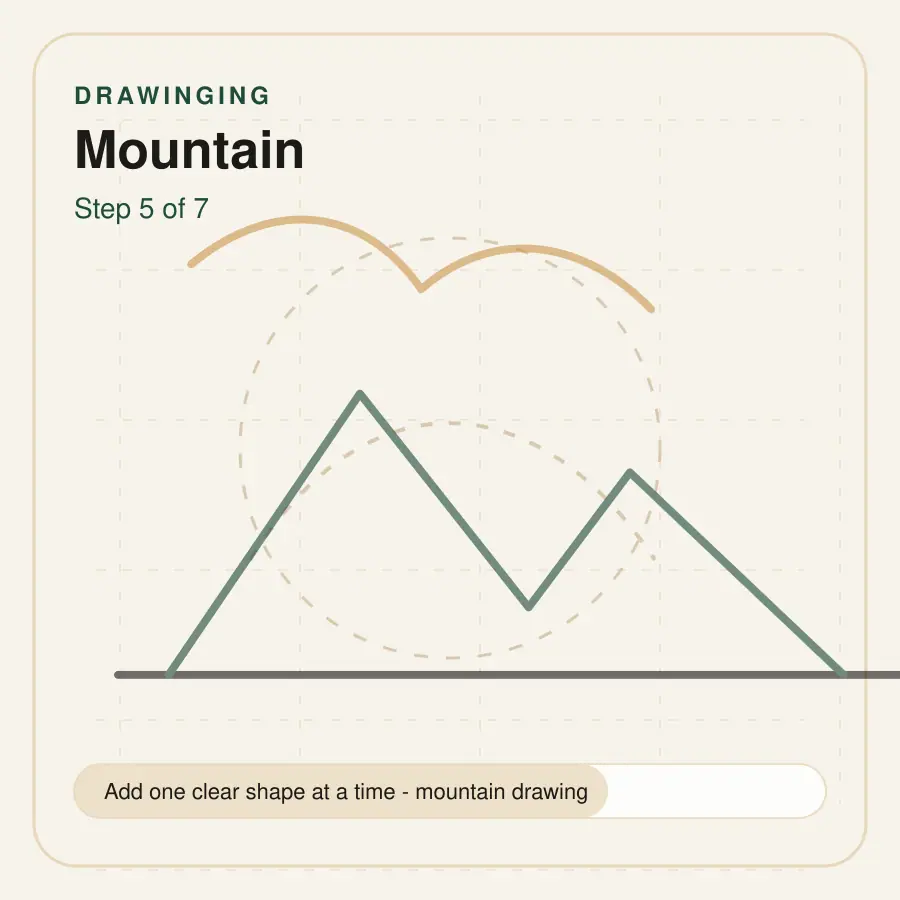
Tip: Cluster detail near the focal point and simplify the edges.
Step 6: Clean the guide lines
Erase construction lines that cut through finished features, especially around the ridge line and slope. Do not scrub the paper; lift graphite slowly and redraw any softened edges afterward. This cleanup stage is also a good time to correct small proportion issues. Step back from the page and check whether the subject still reads clearly at a glance.
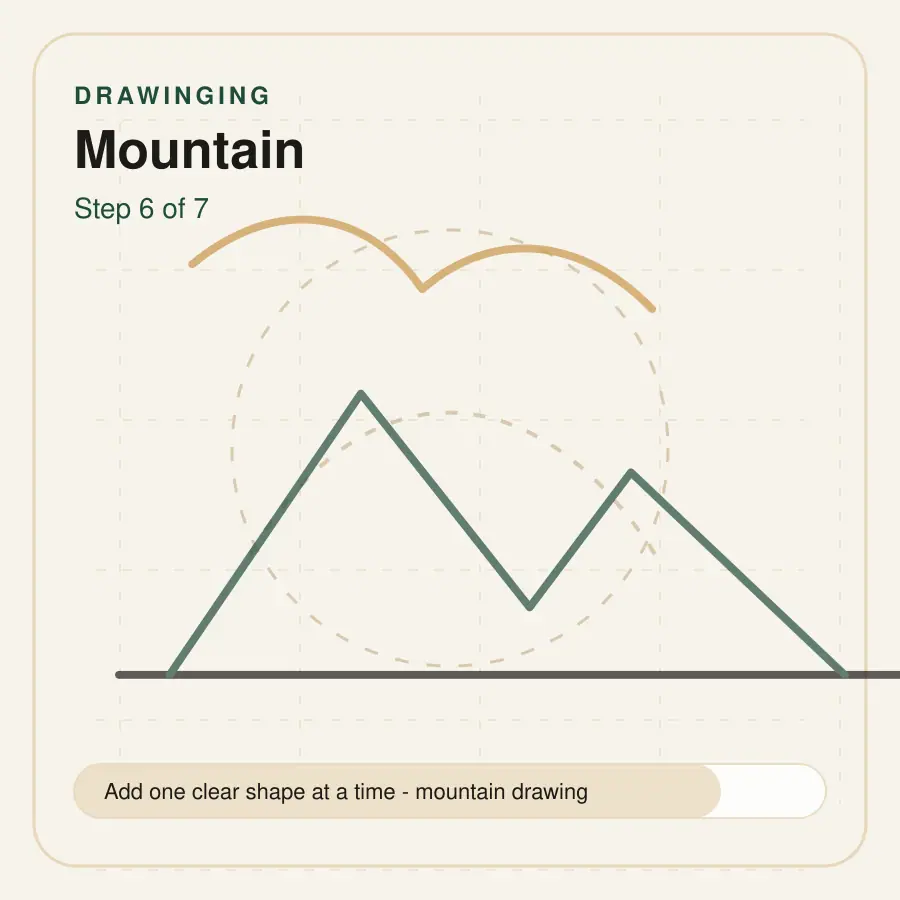
Tip: Use a kneaded eraser if the paper surface is delicate.
Step 7: Add light shading and finish
Choose one light direction and place gentle shadows where forms overlap or turn away. Add a cast shadow only if it helps ground the mountain in the quiet alpine landscape. For this mountain drawing, keep highlights open and avoid covering the whole sketch with gray. Finish by strengthening the most important contour lines and softening any leftover construction marks.
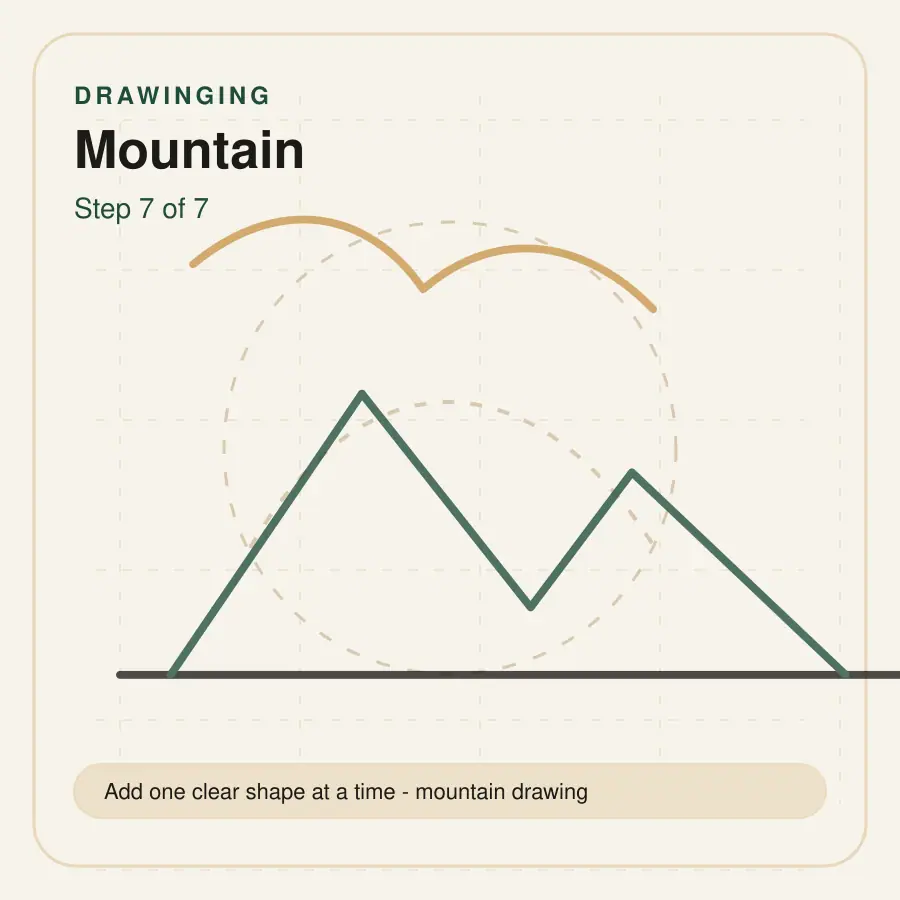
Tip: One consistent light source is better than many scattered shadows.
Refine the drawing
Refine the mountain by comparing the outer silhouette against the inner landmarks. Clean the construction lines that cross ridge line and peak, then strengthen only the edges that describe overlap, weight, or the main focal area.
Shading or coloring
Shade lightly from one direction so the ridge line, peak, and slope share the same light source. Deepen small contact shadows and leave highlights open on the most forward forms.
Beginner variation
For an easy simple version, skip the smallest texture marks and draw a mountain with only the main main peak, uneven ridge, angled slopes, and foreground base. Use one clean outline, one shadow shape, and no background details.
Detailed variation
For a more detailed study, add secondary overlaps, vary the line weight around the jagged ridge with a broad lower slope, and spend extra time on break the ridge into unequal angles so the mountain avoids a triangle look. Keep the added marks lighter than the main contour.
Common mistakes
- Starting the mountain with final dark outlines before the main peak, uneven ridge, angled slopes, and foreground base is placed.
- Making the ridge line and peak the same size when the subject needs clear variation.
- Forgetting to connect the slope to the main form with believable overlap.
- Adding rock planes and snow cap edges before the large silhouette reads as a mountain.
- Shading every area evenly instead of separating the light side from the shadow side.
Drawing tips
- Use a centerline or axis to keep the mountain balanced while the sketch is still light.
- Name the largest shape first, then attach the ridge line and peak.
- Rotate the paper whenever a curve around the slope feels awkward.
- Leave small gaps in texture so the drawing does not become noisy.
- Compare negative space around the jagged ridge with a broad lower slope before darkening the outline.
- Place the darkest marks only where forms overlap or turn away from the light.
Practice worksheet
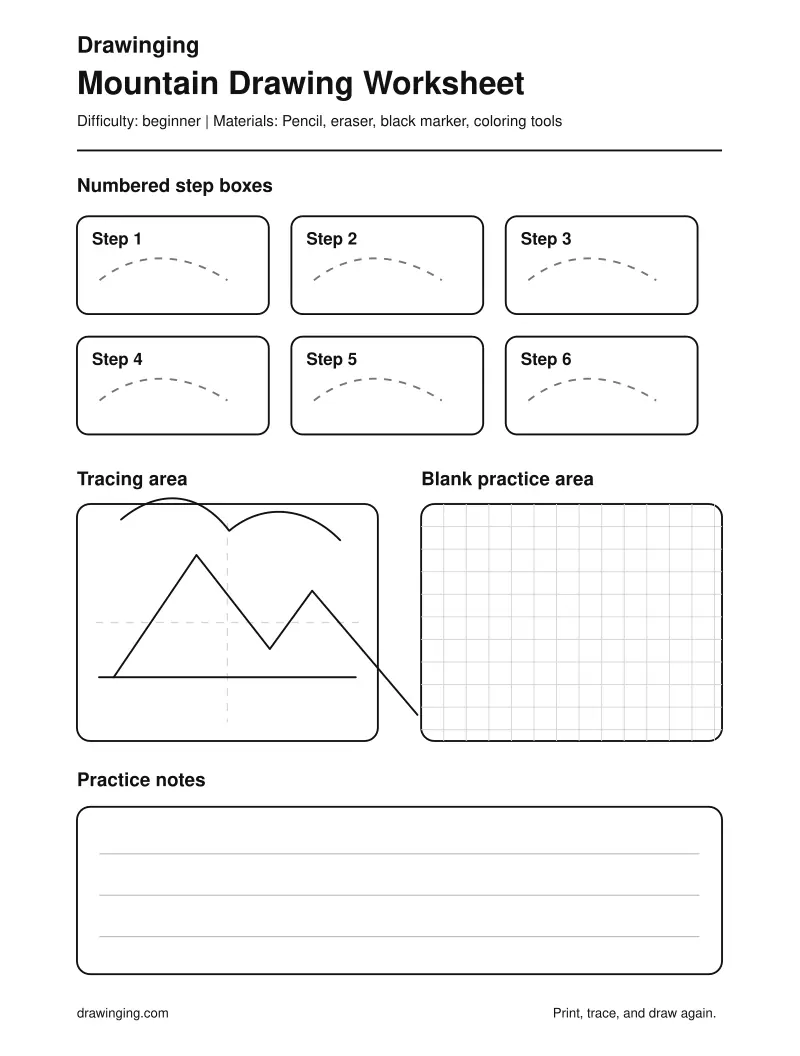
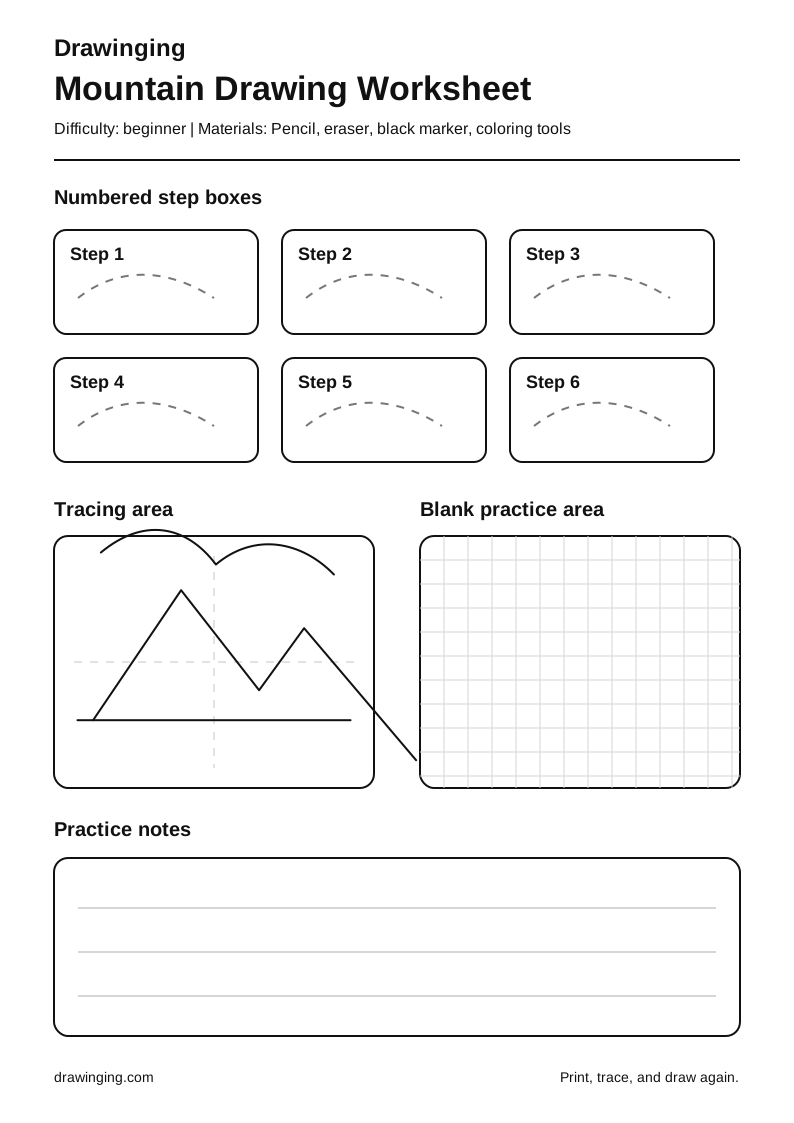
Mountain Drawing Worksheet
Printable practice sheet with step boxes, a tracing area, and blank space to redraw the sequence.
Explore more nature drawings or practise fundamentals in our drawing skills guides.
Related tutorials
Cloud Drawing: Easy Step-by-Step Tutorial
Learn cloud drawing with clear steps for puffy lobes, base shadow, and soft edges. Build from simple shapes, refine details, and finish with light shading cues.
Flower Drawing: Easy Step-by-Step Tutorial
Learn flower drawing step by step using simple pencil shapes, balanced petals, a natural stem, leaves, shading tips, and a free printable worksheet.
Hibiscus Flower Drawing: Easy Step-by-Step Tutorial
Draw a hibiscus flower with clear steps for ruffled petals, stamen column, and anthers. Build simple shapes, refine details, and finish with light shading cues.
Easy Rose Drawing Step-by-Step Tutorial to Learn Quick
Learn rose drawing step by step with layered petals, a natural stem, leaves, realistic shading, and a printable practice worksheet.
Sunflower Drawing: Easy Step-by-Step Tutorial
Learn sunflower drawing with clear steps for seed disk, ray petals, and stalk. Build from simple shapes, refine details, and finish with light shading cues.
Sunset Drawing: Easy Step-by-Step Tutorial
Learn sunset drawing with clear steps for horizon line, sun disk, and cloud bands. Build from simple shapes, refine details, and finish with light shading cues.
Tree Drawing: Easy Step-by-Step Tutorial
Learn tree drawing with clear steps for trunk, branches, and canopy. Build from simple shapes, refine details, and finish with light shading cues.
Tulip Drawing: Easy Step-by-Step Tutorial
Learn tulip drawing with clear steps for cup petals, stem, and long leaves. Build from simple shapes, refine details, and finish with light shading cues.
FAQs
What is the easiest way to start mountain drawing?
Start with main peak, uneven ridge, angled slopes, and foreground base. Keep the shapes light, check the main silhouette, and add rock planes and snow cap edges only after the structure feels steady.
How can I make my mountain look less flat?
Use overlap around the ridge line and peak, then add one light source so shadows sit consistently across the form.
Which pencil should I use for a mountain sketch?
An HB pencil is best for construction, while a 2B pencil can darken the final contour, contact shadows, and selected rock planes and snow cap edges.
How do I fix uneven ridge line in this drawing?
Return to the guide shapes, compare both sides of the jagged ridge with a broad lower slope, and redraw the uneven part with pale strokes before erasing the extra lines.
Should I add background details around the mountain?
Keep the background minimal until the subject is finished. A simple ground, perch, sky mark, or cast shadow is enough for this tutorial style.
Conclusion
Keep the finished mountain simple, clean, and readable. Save the construction marks you liked, then try a second version with lighter lines and more confident edges.